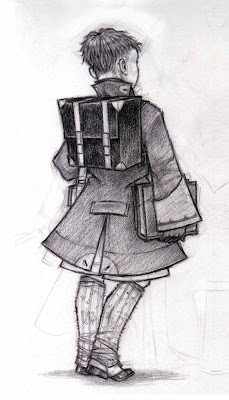
So, I start with the line drawing on paper (yes, a real piece of paper!) done with a sepia pencil for no other reason than I like the feel of the media and the brown looks nice. Some folk have mistakenly thought these charcoal drawings, but they are not, just coloured pencil.

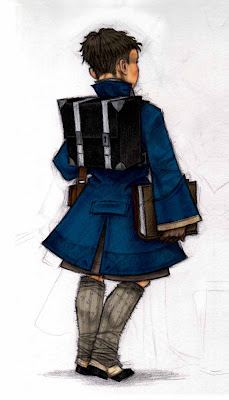
Having scanned the image in at 600 dpi, in Photoshop I then make a layer on MULITIPLY setting, onto which with the PENCIL tool I draw/paint/whatever it is you do in the digital context, areas of flat colour corresponding with the lines of the original drawing.
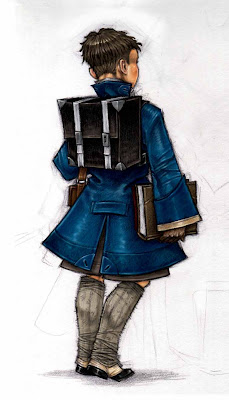
 Usually making a copy of this FLAT COLOUR layer – as I call it (turning off the original flat layer, thus preserving the original should anything go awry) I then mould the copied flat colour layer with the BURN tool, working in shadows and form as appropriate.

Finally over the line drawing and the moulded colour I make a HIGHLIGHTS or SHINE layer (sometimes both if I am really pushing things around) onto which with the BRUSH tool I work all the glimmers and glows and shines that pull the image out and finishes it off.

Not much to it really, just time and the right ordering of layers. I highly recommend some form of drawing tablet for this though, drawing fine details with what amounts to a bar of remote soap (by which I mean a mouse) is not so much fun and does not allow quite the same finish without some extra frustration and effort. (Believe me, I have tried for many years with mouse only, and when I finally got a tablet it was like a whole new world opened up… usual story.)
What I like about this combination is the immediacy of a real drawing yet the glamour and finish of fine digital colour. Oh, and I used the same process for the image of Europe you see as a background to this blog.
I hope that is what you were looking for, Elinor.
All images (c) D.M.Cornish, 2011